When you call the Custom UI web application, you will first see the start page:
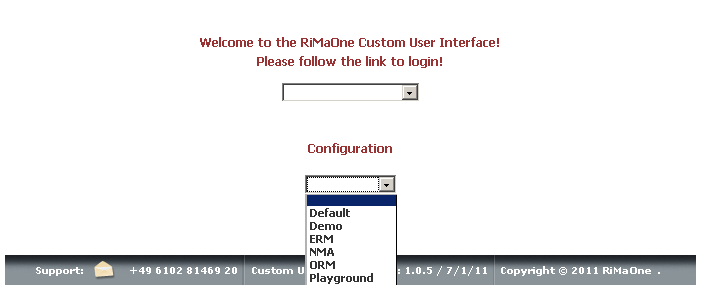
For each TrackingOne container, there is a separate configuration area. Open the second list box in order to select that container for which you want to customise a user interface.
A user interface provided by the Custom UI belongs to exactly one container. Within a user interface, only those TrackingOne contents (workflows, reports, and so on) will be available which belong to the user interface's container. See section Containers, Configurations, and Resources.
By selecting your container, you will be redirected to the login page. Enter your TrackingOne user name and password. (In a single-sign-on environment, the login is possibly not necessary. In this case, you will be authenticated without any interaction, and the login is skipped.)
To be authorized to enter the configuration area of a certain container, you need the TrackingOne role T1_Admin together with its role extension for that container (see section Enter A Configuration Area for details). Refer to the TrackingOne documentation to learn more about roles and role extensions and to the TrackingOne user administrator.
After being authenticated, you will see the configuration area page which looks like this:

The container of the configuration area is displayed in the footer.
You can change the language of the configuration area in the header line. This will not affect the language of the user interface you want to customize.