Short Introduction on Special Widgets:
Special Widgets offer the possibility to embed functionalities that are normally not available
within the custom ui. The underlying functionalities have to be programmed beforehand and to be made available
via a plug-in. Plug-ins are resources which can be uploaded as *.jar or *.zip files or which are pre-installed in the Custom UI web application.
The documentation of a plug-in contains a list of all Special Widget functionalities it provides along with possible or necessary
settings to configure it. Each Special Widget functionality has a path / file name which has to be configured in the
Special Widget element's dialog. Generally, it is possible to use the same functionality (i.e. path / file name) with multiple Special Widget elements
in the configuration.
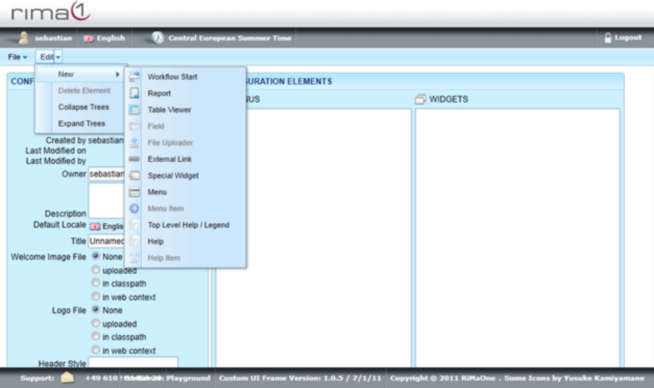
To create a special widget open up the Edit menu, select New and click on Special Widget.
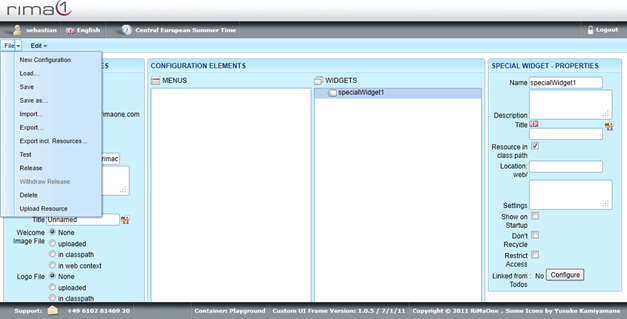
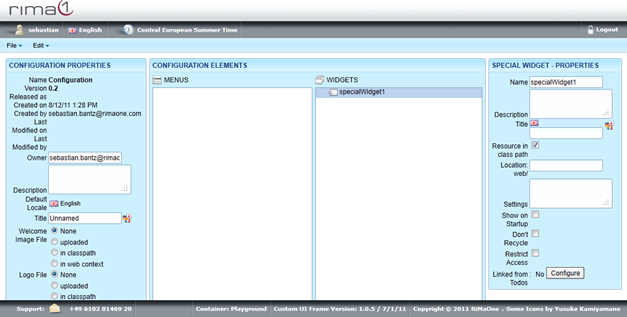
Click on the newly created Special Widget in Widgets to edit Name, Description, Title, Location, Settings, Show on Startup, Don`t Recycle, Restrict Access and Linked from Todos.
To specify the underlying functionality of the Special Widget, enter the path / file name of it in the textbox Location.
The checkbox "Resource in class path" must be checked in order to signal that the plug-in is contained in an uploaded resource (*.jar or *.zip file).
If it is not checked, then the functionality is expected as a pre-installed functionality. Refer to the administrator of the Custom UI web application
if you don't know whether the functionality you want to use is pre-installed.
The Settings are specific to the functionality you want to use. Refer to the documentation of the respective functionality of the plug-in.
Remember to save all your changes in the File menu with Save.